


In this article, you will learn how to install OwnCloud on Ubuntu 18.04 and newer versions.
Step 1: Update Ubuntu System Packages
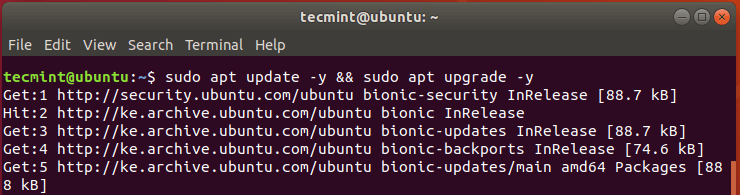
Before getting started, update the system packages and repositories using the following apt command.
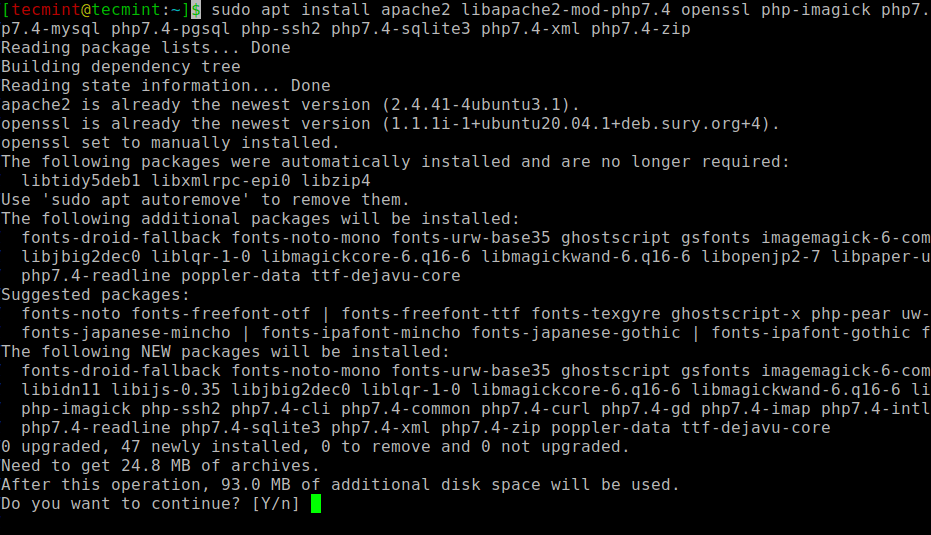
Step 2: Install Apache and PHP 7.2 in Ubuntu
OwnCloud is built on PHP and is typically accessed via a web interface. For this reason, we are going to install the Apache webserver to serve Owncloud files as well as PHP 7.2 and additional PHP modules necessary for OwnCloud to function smoothly.
PHP 7.2 isn’t available on Ubuntu default repositories… in order to install it, you will have to get it from third-party repositories.
Run the commands below to add the below third party repository to upgrade to PHP 7.2
sudo apt-get install software-properties-common
sudo add-apt-repository ppa:ondrej/php
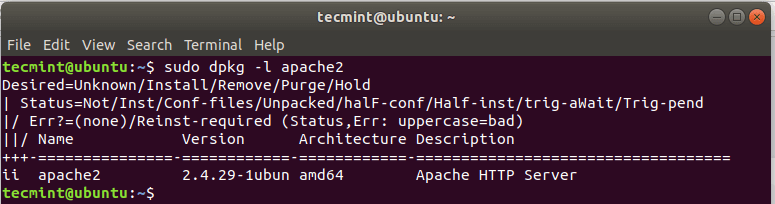
Once the installation is complete you can verify if Apache is installed by running the dpkg command.
From the output, we can see that we have installed Apache version 2.4.29.
To start and enable Apache to run on boot, run the commands.
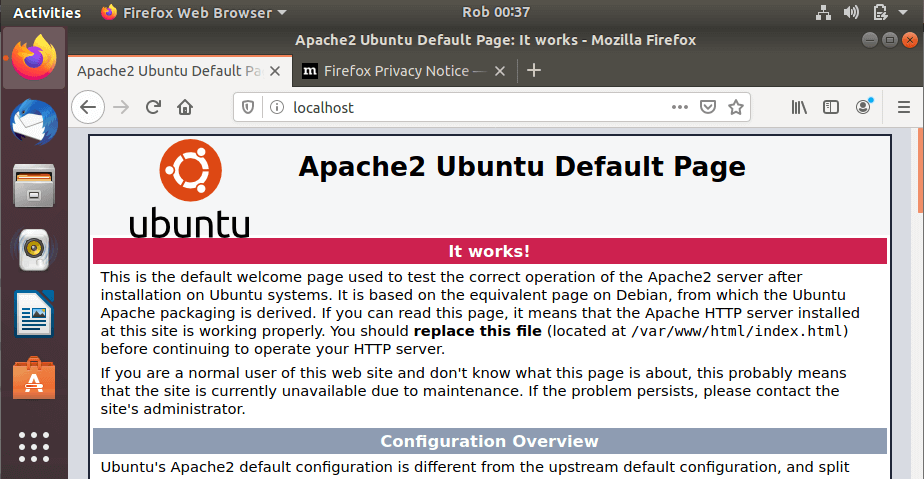
Now head over to your browser and type in your server’s IP address in the URL bar as shown:
You should get a webpage below showing that Apache is installed and running.
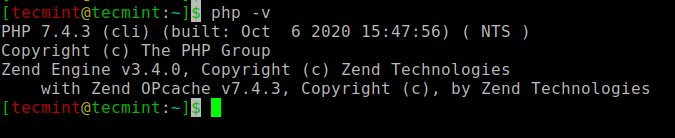
To check if PHP is installed.
Step 3: Install MariaDB in Ubuntu
MariaDB is a popular open-source database server that is widely used by developers, database enthusiasts, and also in production environments. It’s a fork of MySQL and has been preferred to MySQL since the takeover of MySQL by Oracle.
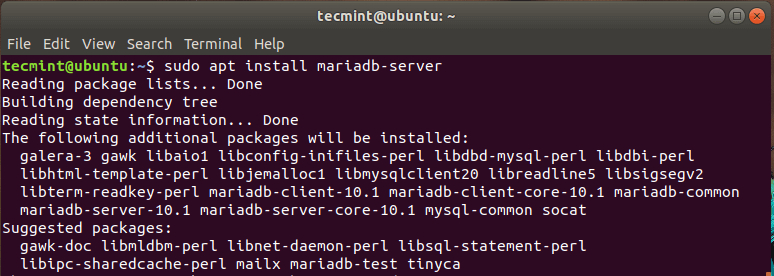
To install the MariaDB run.
By default, MariaDB is not secured and is prone to security breaches. We, therefore, need to perform additional steps to harden the MariaDB server.
To get started with securing your MySQL server, run the command:
Hit ENTER when prompted for the root password and press ‘Y’ to set the root password.

For the remaining prompts, simply type ‘Y’ and hit ENTER.
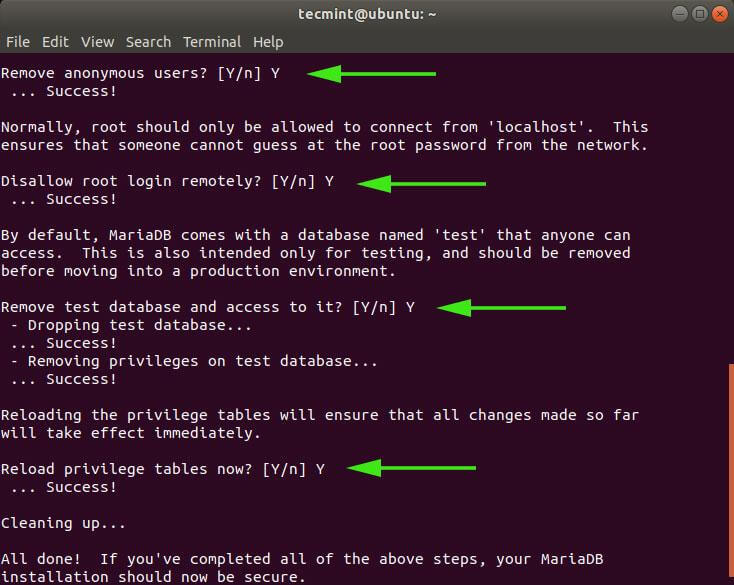
Your MariaDB server is now secured to a decent level.
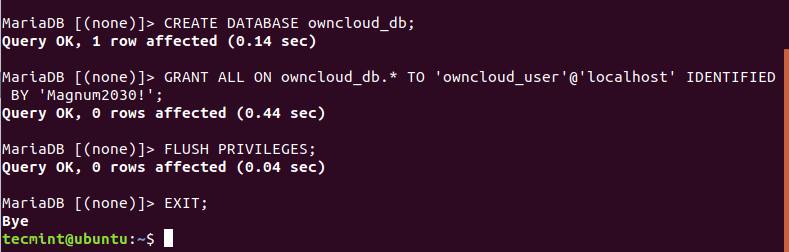
Step 4: Create an OwnCloud Database
We need to create a database for Owncloud to store files during and after installation. So log in to MariaDB.
Run the commands below:
Step 5: Download OwnCloud in Ubuntu
After creating the database, now download the OwnCloud zipped file using the following wget command.
Once downloaded, unzip the zipped package to the /var/www/ directory.
Then, set permissions.
Step 6: Configure Apache for OwnCloud
In this step, we are going to configure Apache to serve OwnCloud’s files. To do that, we are going to create a configuration file for Owncloud as shown.
Add the configuration below.
Save and close the file.
Next, you need to enable all the required Apache modules and the newly added configuration by running the commands below:
For the changes to come into effect restart the Apache webserver.
Step 7: Finalizing the OwnCloud Installation in Ubuntu
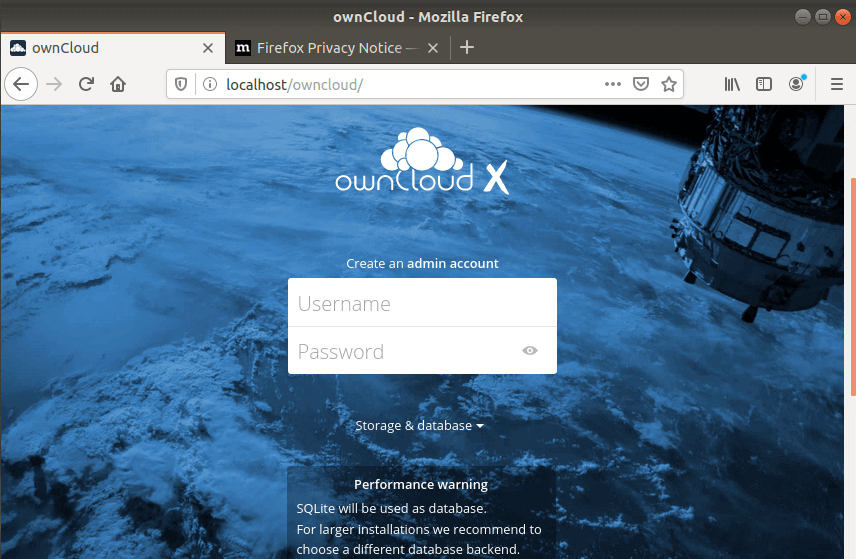
With all the necessary configurations finalized, the only part remaining is to install OwnCloud on a browser. So head out to your browser and type in your server’s address followed by the /owncloud suffix.
You will be presented with a web page similar to the one below.
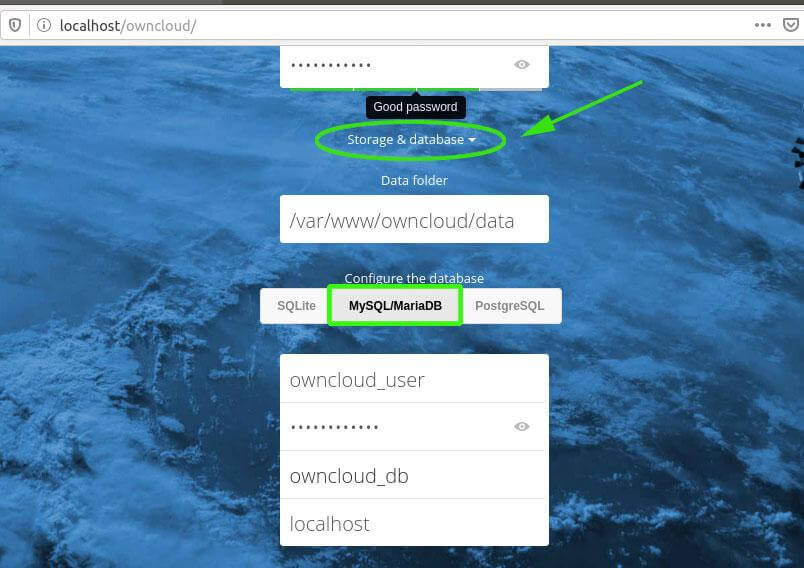
Just below, click on ‘Storage and database’. Select ‘MySQL / MariaDB’ under the ‘configure the database’ section and fill in the database credentials that you defined whilst creating the database for OwnCloud i.e database user, password of the database user, & database name.
Finally, click ‘Finish setup’ to wind up setting up Owncloud.

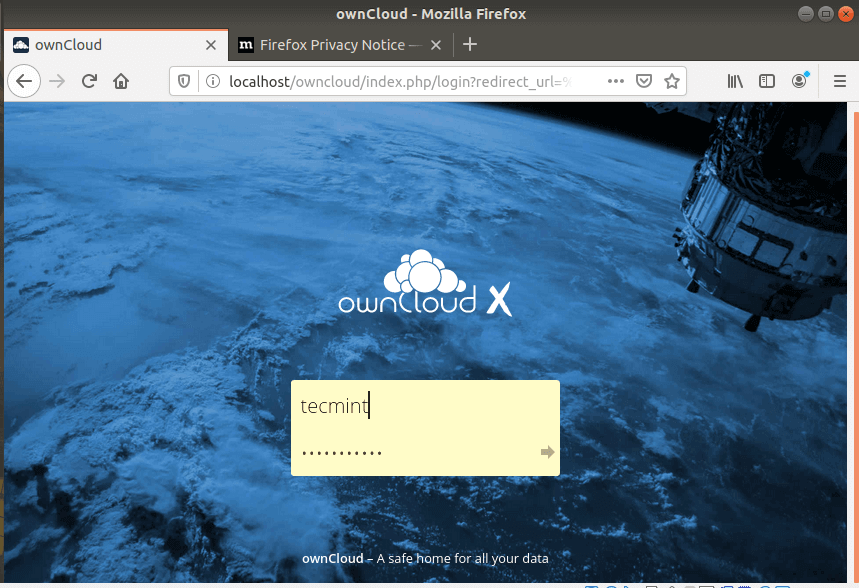
This takes you to the login screen as shown. Input the username and password defined earlier and hit ENTER.
A notification will be presented indicating other avenues that you can access OwnCloud from i.e iOS, Android & desktop App.
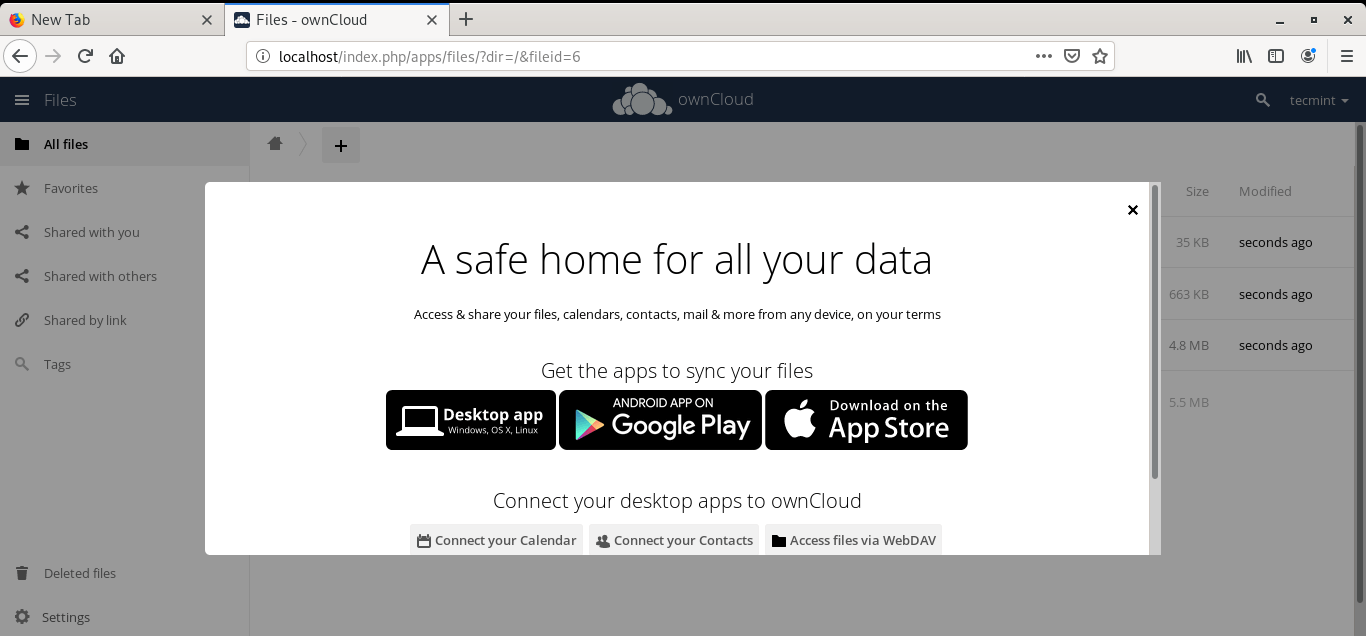
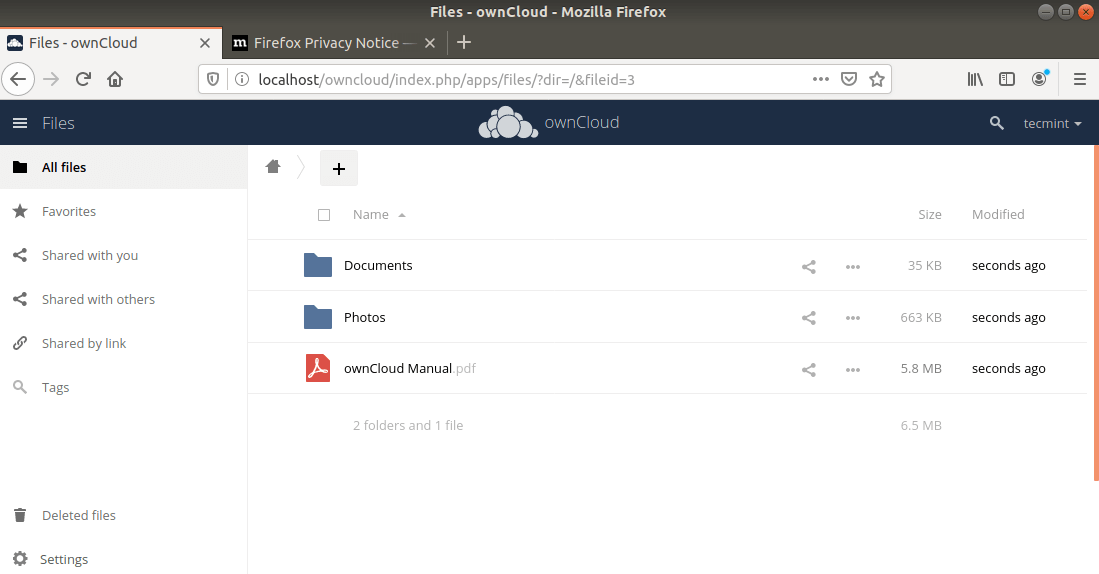
Close the pop-up to access the dashboard as shown:
And that’s it, guys! We have successfully installed the OwnCloud file sharing platform on Ubuntu 18.04.


