In this article, you will learn how to installOwnCloudonUbuntu 18.04and newer versions.
Step 1: Update Ubuntu System Packages
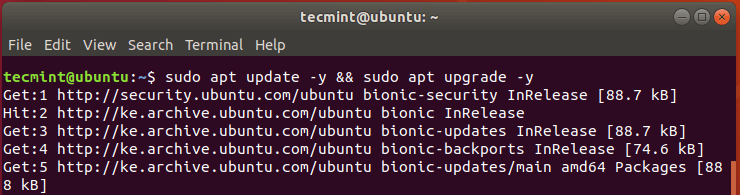
Before getting started, update the system packages and repositories using the following apt command.
$ sudo apt update -y && sudo apt upgrade -y
Update Ubuntu System Packages
Step 2: Install Apache and PHP 7.2 in Ubuntu
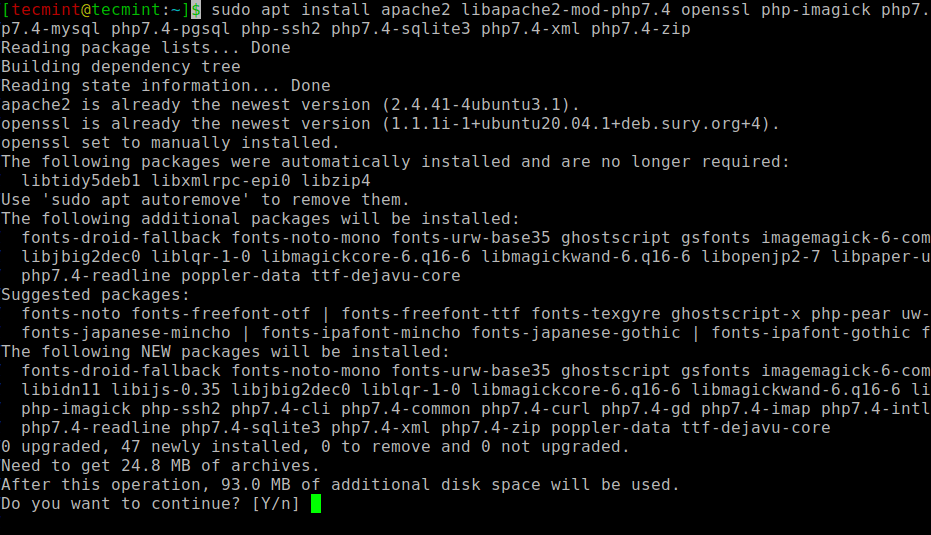
OwnCloud is built on PHP and is typically accessed via a web interface. For this reason, we are going to install the Apache webserver to serve Owncloud files as well as PHP 7.2 and additional PHP modules necessary for OwnCloud to function smoothly.
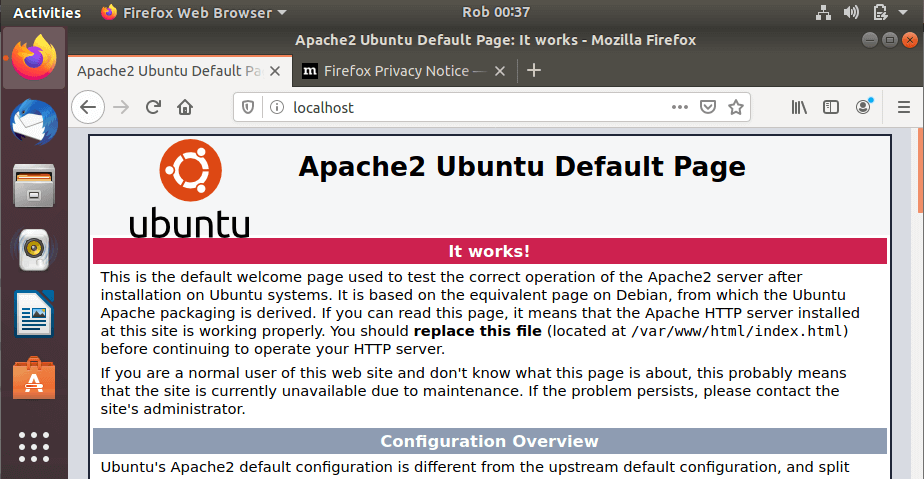
Now head over to your browser and type in your server’s IP address in the URL bar as shown:
http://server-IP
You should get a webpage below showing that Apache is installed and running.
Verify Apache Page in Ubuntu
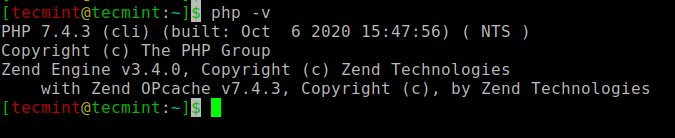
To check if PHP is installed.
$ php -v
Check PHP Version in Ubuntu
Step 3: Install MariaDB in Ubuntu
MariaDB is a popular open-source database server that is widely used by developers, database enthusiasts, and also in production environments. It’s a fork of MySQL and has been preferred to MySQL since the takeover of MySQL by Oracle.
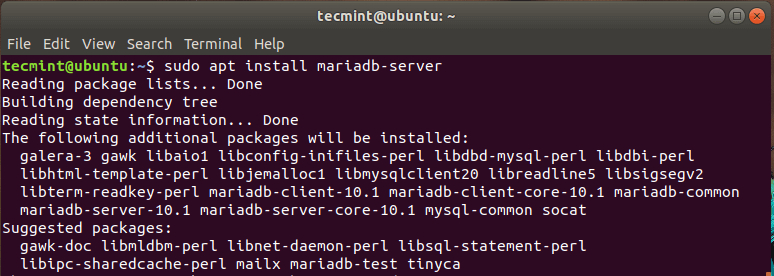
To install the MariaDB run.
$ sudo apt install mariadb-server
Install MariaDB in Ubuntu
By default, MariaDB is not secured and is prone to security breaches. We, therefore, need to perform additional steps to harden the MariaDB server.
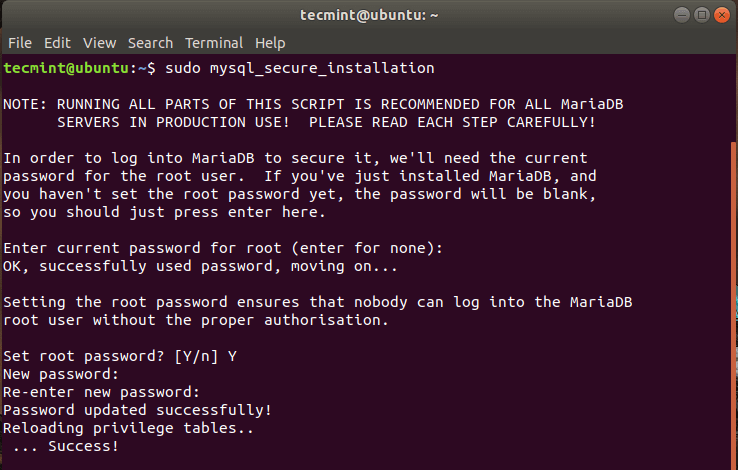
To get started with securing your MySQL server, run the command:
$ sudo mysql_secure_installation
Hit ENTER when prompted for the root password and press ‘Y’ to set the root password.
Set MySQL Password in Ubuntu
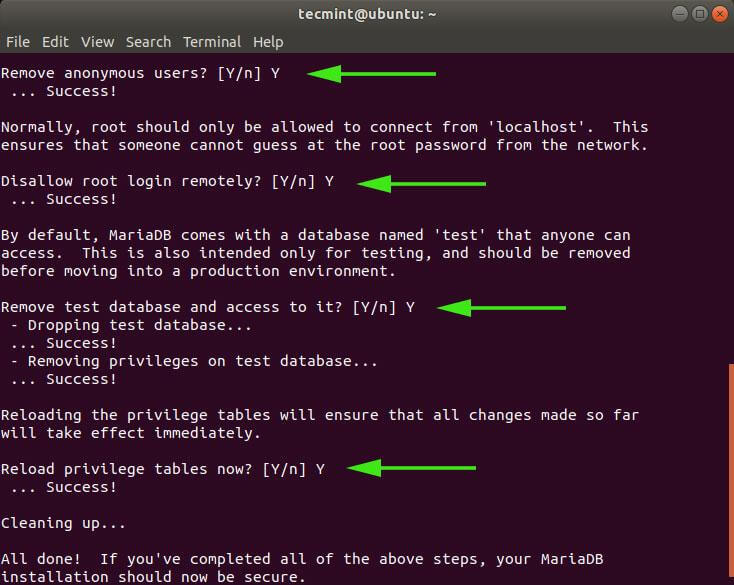
For the remaining prompts, simply type ‘Y’ and hit ENTER.
Secure MySQL in Ubuntu
Your MariaDB server is now secured to a decent level.
Step 4: Create an OwnCloud Database
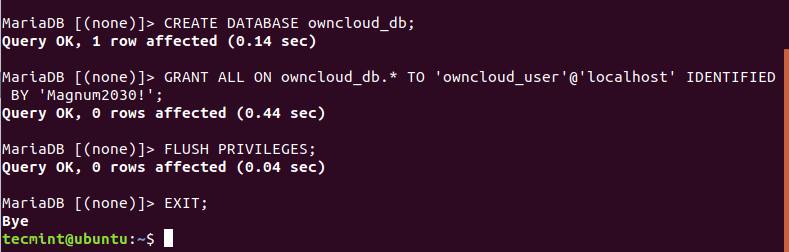
We need to create a database for Owncloud to store files during and after installation. So log in to MariaDB.
$ sudo mysql -u root -p
Run the commands below:
MariaDB [(none)]> CREATE DATABASE owncloud_db;
MariaDB [(none)]> GRANT ALL ON owncloud_db.* TO 'owncloud_user'@'localhost' IDENTIFIED BY 'StrongP@ssword';
MariaDB [(none)]> FLUSH PRIVILEGES;
MariaDB [(none)]> EXIT;
In this step, we are going to configure Apache to serve OwnCloud’s files. To do that, we are going to create a configuration file for Owncloud as shown.
$ sudo vim /etc/apache2/conf-available/owncloud.conf
Add the configuration below.
Alias /owncloud "/var/www/owncloud/"

<Directory /var/www/owncloud/>
  Options +FollowSymlinks
  AllowOverride All

 <IfModule mod_dav.c>
  Dav off
 </IfModule>

 SetEnv HOME /var/www/owncloud
 SetEnv HTTP_HOME /var/www/owncloud

</Directory>
Save and close the file.
Next, you need to enable all the required Apache modules and the newly added configuration by running the commands below:
For the changes to come into effect restart the Apache webserver.
$ sudo systemctl restart apache2
Step 7: Finalizing the OwnCloud Installation in Ubuntu
With all the necessary configurations finalized, the only part remaining is to install OwnCloud on a browser. So head out to your browser and type in your server’s address followed by the /owncloud suffix.
http://server-IP/ownlcloud
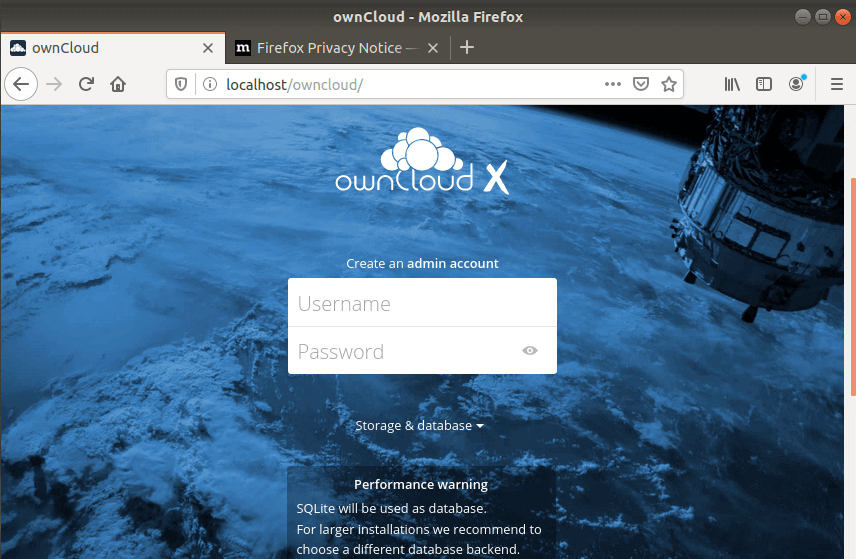
You will be presented with a web page similar to the one below.
Create OwnCloud Admin Account
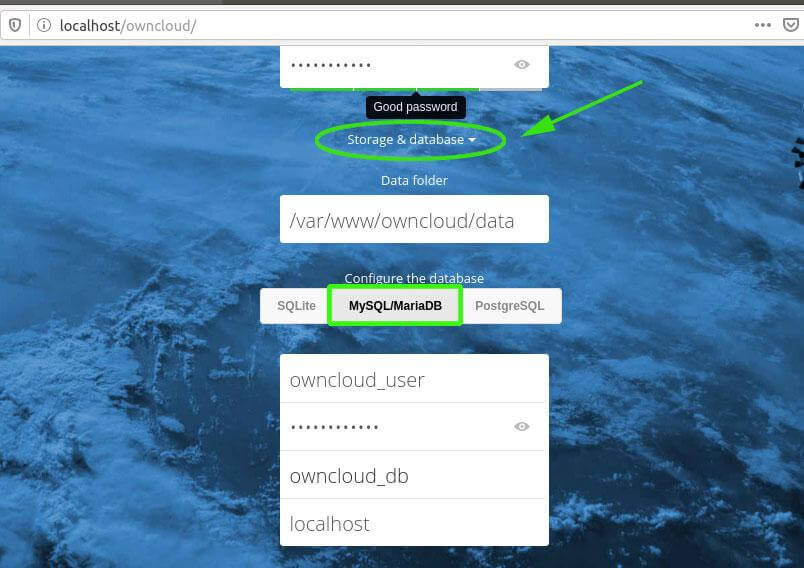
Just below, click on ‘Storage and database’. Select ‘MySQL / MariaDB’ under the ‘configure the database’ section and fill in the database credentials that you defined whilst creating the database for OwnCloud i.e database user, password of the database user, & database name.
Add OwnCloud Database Settings
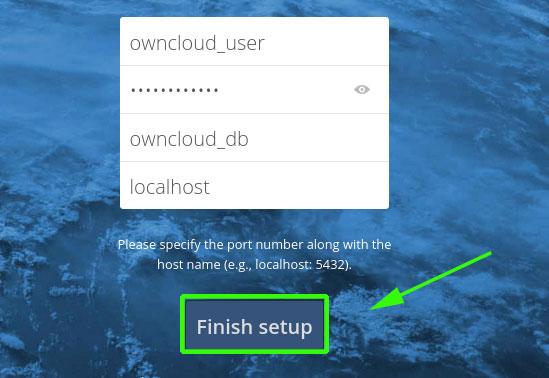
Finally, click ‘Finish setup’ to wind up setting up Owncloud.
Finish OwnCloud Setup
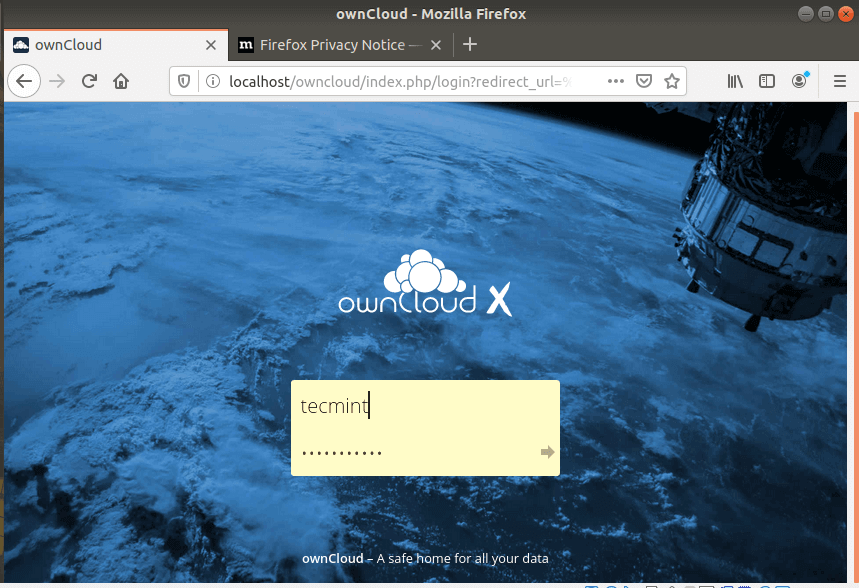
This takes you to the login screen as shown. Input the username and password defined earlier and hit ENTER.
OwnCloud Admin Login
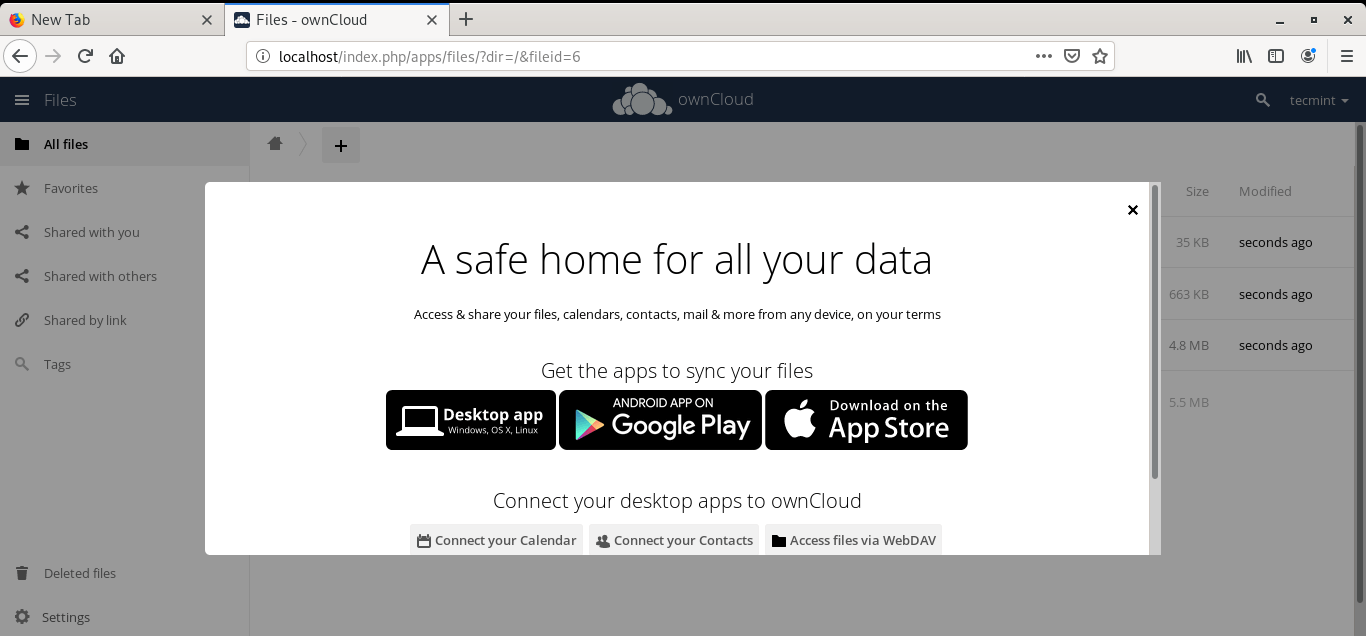
A notification will be presented indicating other avenues that you can access OwnCloud from i.e iOS, Android & desktop App.
OwnCloud Supported Platforms
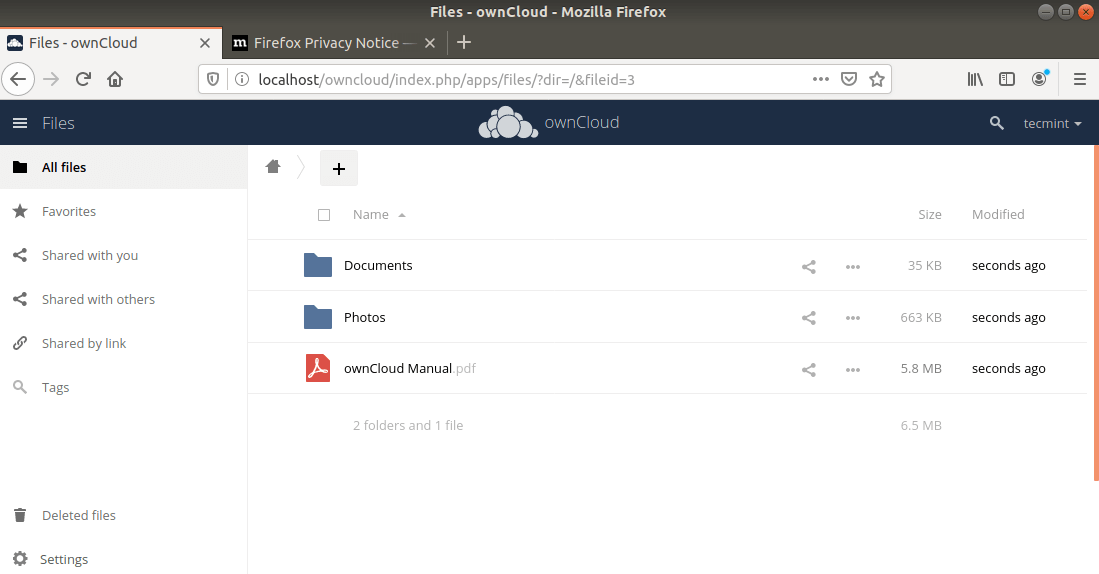
Close the pop-up to access the dashboard as shown:
OwnCloud Dashboard
And that’s it, guys! We have successfully installed the OwnCloud file sharing platform on Ubuntu 18.04.
To test Apache2 setup, open your browser and browse to the server hostname or IP address and you should see Apache2 default test page as shown below.. When you see that, then Apache2 is working as expected..
http://localhost
Step 2: Install MariaDB Database Server
MariaDB database server is a great place to start when looking at open source database servers to use with Magento… To install MariaDB run the commands below…
After installing PHP 7.2, run the commands below to open PHP default config file for Apache2…
sudo nano /etc/php/7.2/apache2/php.ini
Then make the changes on the following lines below in the file and save. The value below are great settings to apply in your environments.
file_uploads = On
allow_url_fopen = On
memory_limit = 256M
upload_max_filesize = 100M
max_execution_time = 360
date.timezone = America/Chicago
After making the change above, save the file and close out.
Step 3: Restart Apache2
After installing PHP and related modules, all you have to do is restart Apache2 to reload PHP configurations…
To restart Apache2, run the commands below
sudo systemctl restart apache2.service
To test PHP 7.2 settings with Apache2, create a phpinfo.php file in Apache2 root directory by running the commands below
sudo nano /var/www/html/phpinfo.php
Then type the content below and save the file.
<?php phpinfo( ); ?>
Save the file.. then browse to your server hostname followed by /phpinfo.php
http://localhost/phpinfo.php
You should see PHP default test page…
Step 4: Create Magento Database
Now that you’ve installed all the packages that are required for Magento to function, continue below to start configuring the servers. First run the commands below to create a blank Magento database.
To logon to MariaDB database server, run the commands below.
sudo mysql -u root -p
Then create a database called microweber
CREATE DATABASE microweber;
Create a database user called microweberuser with new password
CREATE USER 'microweberuser'@'localhost' IDENTIFIED BY 'new_password_here';
Then grant the user full access to the database.
GRANT ALL ON microweber.* TO 'microweberuser'@'localhost' IDENTIFIED BY 'user_password_here' WITH GRANT OPTION;
Finally, save your changes and exit.
FLUSH PRIVILEGES;
EXIT;
Step 5: Download and Install Microweber
Run the commands below to download Microweber latest… Then create a root director for Microweber and unzip the content there…
Finally, configure Apache2 configuration file for Microweber. This file will control how users access Microweber content. Run the commands below to create a new configuration file called microweber.conf
To get Let’s Encrypt free SSL/TLS certificates on your Ubuntu machine, you should first install its client. The client helps automate the process for you. To install it, run the commands below.
sudo apt-get install python-certbot-apache
If python-certbot-nginx isn’t already installed, you may have to add its PPA repository and install the package..
After installing Let’s Encrypt Certbot client module for Apache2, run the commands below to obtain your free Let’s Encrypt SSL/TLS certificate the domain specified… make sure to replace example.com with your own domain..
After running the above commands, you should get prompted to accept the licensing terms. If everything is checked, the client should automatically install the free SSL/TLS certificate and configure the Apache2 site to use the certs.
Please read the Terms of Service at
https://letsencrypt.org/documents/LE-SA-v1.2-November-15-2017.pdf. You must
agree in order to register with the ACME server at
https://acme-v01.api.letsencrypt.org/directory
-------------------------------------------------------------------------------
(A)gree/(C)ancel: A
Choose Yes ( Y ) to share your email address
Would you be willing to share your email address with the Electronic Frontier
Foundation, a founding partner of the Let's Encrypt project and the non-profit
organization that develops Certbot? We'd like to send you email about EFF and
our work to encrypt the web, protect its users and defend digital rights.
-------------------------------------------------------------------------------
(Y)es/(N)o: Y
This is how easy is it to obtain your free SSL/TLS certificate for your Apache2 powered website.
Please choose whether or not to redirect HTTP traffic to HTTPS, removing HTTP access.
-------------------------------------------------------------------------------
1: No redirect - Make no further changes to the webserver configuration.
2: Redirect - Make all requests redirect to secure HTTPS access. Choose this for
new sites, or if you're confident your site works on HTTPS. You can undo this
change by editing your web server's configuration.
-------------------------------------------------------------------------------
Select the appropriate number [1-2] then [enter] (press 'c' to cancel): 2
Pick option 2 to redirect all traffic over HTTPS. This is important!
After that, the SSL client should install the cert and configure your website to redirect all traffic over HTTPS.
Congratulations! You have successfully enabled https://example.com and
https://www.example.com

You should test your configuration at:
https://www.ssllabs.com/ssltest/analyze.html?d=example.com
https://www.ssllabs.com/ssltest/analyze.html?d=www.example.com
-------------------------------------------------------------------------------

IMPORTANT NOTES:
 - Congratulations! Your certificate and chain have been saved at:
   /etc/letsencrypt/live/example.com/fullchain.pem
   Your key file has been saved at:
   /etc/letsencrypt/live/example.com/privkey.pem
   Your cert will expire on 2018-02-24. To obtain a new or tweaked
   version of this certificate in the future, simply run certbot again
   with the "certonly" option. To non-interactively renew *all* of
   your certificates, run "certbot renew"
 - If you like Certbot, please consider supporting our work by:

   Donating to ISRG / Let's Encrypt:   https://letsencrypt.org/donate
   Donating to EFF:                    https://eff.org/donate-le
The highlighted code block should be added to your Apache2 Microweber configuration file automatically by Let’s Encrypt certbot. Your Microweber site is ready to be used over HTTPS.
A new configuration file for the domain should also be created named /etc/apache2/sites-available/example.com-le-ssl.conf. This is Apache2 SSL module configuration file and should contain the certificate definitions defined in it.
You’ll have to manually renew the certificates. You’ll get email reminder to reset when the certificates are about to expire. To test the renewal process run the commands below.
sudo certbot renew --dry-run
To setup a process to automatically renew the certificates, add a cron job to execute the renewal process.
sudo crontab -e
Then add the line below and save.
0 1 * * * /usr/bin/certbot renew & > /dev/null
The cron job will attempt to renew 30 days before expiring
installation error “PHP extension ”curl“ must be loaded”
First of all Install CURL using this command:-
sudo apt-get install curl
After that using these commands according to your PHP versions:-




 Posts
Posts

